
Please don't copy it or claim it as your own or post it through any group.
You may link back to my blog.
Any resemblance to any other tutorial is strictly coincidental.
It is written assuming you have a basic knowledge of PSP and its tools.
It is written using PSP 9 but should work in any other version.
For this tutorial you will need a tube or tubes of choice,
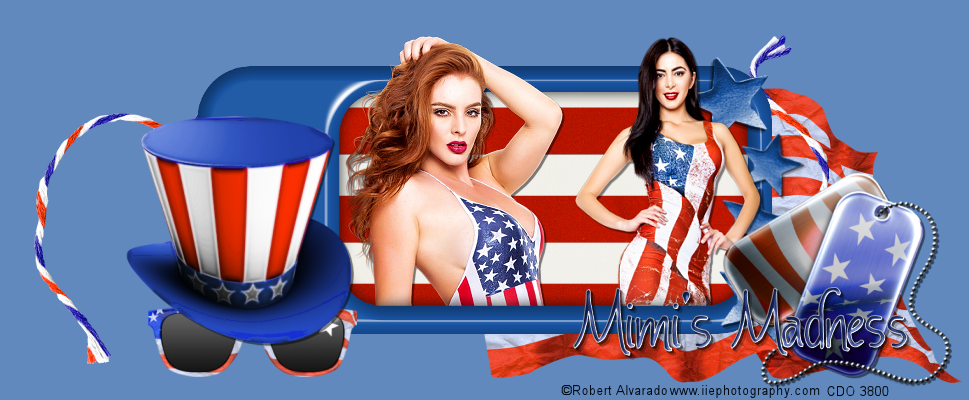
I am using Cuddly Rigor Mortis.
You can purchase these tubes Here
You will also need these filters:
DBS Flux- Bright noise
And VM Natural-Sparkle
Of course you may want to use a scrap kit.
Can't wait to see how creative you all get!
Ready?
Open a new image, in PSPS,
600X300
Background white. Promote background layer to raster.
Grab your text tool and type your name.
B/G color of choice,
F/G null.
Objects : align :center in canvas.
Convert to raster layer.
Type your name again this time. B/G null and F/G set to Gradient.
Choose the Metal Steel gradient angle set to 33 And repeats at 0
Style set as linear
Again align in center of canvas.
Apply this inner bevel:

And this drop shadow

Now activate Raster layer 1 and duplicate it twice.
With raster layer active go to effects and DBS Flux

Apply this filter on the next colored name layer twice.
And then on the third layer,
Now go effects and VM Natural: Sparkle,
And apply it one time to each layer.
Now add your tubes and elements.
If you need to increase your canvas size,
Add the same drop shadow to each element and tube.
And remember to apply copy wright.
When you are happy with your tag, Close off the two bottom colored name layers. Copy merge,
Now go back to PSP and close the first colored name layer, and open the
Go back to PSP and close the eye on the middle layer
and open the eye on the last layer. Copy merged and take it to animation shop.
Paste after current layer.
Now view animation and save.
No comments:
Post a Comment