New text Tutorial

Find it here at the
I would love to see your results!
Hugs from Kel
Please don't copy it or claim it as your own or post it through any group.
You may link back to my blog.
Any resemblance to any other tutorial is strictly coincidental.
It is written assuming you have a basic knowledge of PSP and its tools.
It is written using PSP 9 but should work in any other version.
For this tag you will need:
A fat font of choice,
I am using ShowCard Gothic.
And you will need another font of choice for the name.
Ready?
Open a new image 600x600 With a transparent background.
Grab your text tool and choose your font.
I am using Showcard Gothic size 90. Stroke 5; Color of choice, b/g null.
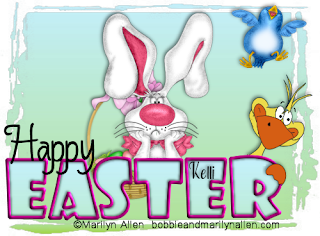
Type EASTER
Then go objects and align in center of canvas. Then convert to raster.
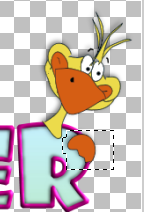
Use your magic wand to select inside of each of your letters.
Expand the selection X1. add a new raster layer and drag it to the bottom.
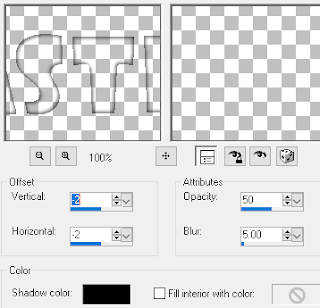
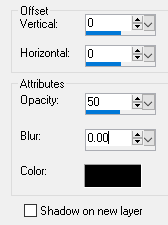
Go to effects, 3-D effects and cutout.
Here are my settings
Add a new layer and repeat the cutout, changing
the settings for H and V to 2.
Merge down. add a new layer and expand the selection again X1.
Grab your flood fill tool and on your materials pallette go
pattern. Find the gradient in the drop down menu.
Fill the letters with the pattern. select none.
Add an inner bevel to the word outline.




This tutorial was written on 2-24-22, By Kelli.
Please don't copy it or claim it as your own or post it through any group.
You may link back to my blog.
Any resemblance to any other tutorial is strictly coincidental.
It is written assuming you have a basic knowledge of PSP and its tools.
It is written using PSP 9 but should work in any other version.
For this tag you will need:
A font of choice,
I am using Coffee Tin.
And you will need another font of choice for the text.

Ready?
Open a new image 800x600 With a transparent background.
Type your text in font of choice.
I have started reading the Alphabet Mysteries by Sue Grafton again.
I have been thinking some of the quotes would make wonderful tags.
I typed
“Whoever invented breakfast really did it good.”
― Sue Grafton, A is for Alibi
add your favorite text effects.
I only added a drop shadow.
Begin adding your tubes and resizing them as desired.
Add a shadow to each.
Now add the elements of choice and a shadow to each.
Make the bottom layer active. Select all, paste a paper of choice into selection.
Add mask and merge group.
Add shadow.
Add copy wright and taggers info at this time.
Add your name in your choice of font,
I used Coffee Tin.
When you are happy, save as png.
This tutorial was written on 2-17-22, By Kelli.
Please don't copy it or claim it as your own or post it through any group.
You may link back to my blog.
Any resemblance to any other tutorial is strictly coincidental.
It is written assuming you have a basic knowledge of PSP and its tools.
It is written using PSP 9 but should work in any other version.
For this tutorial you you will need:
This animation which I found in my supplies.
Or another one of your choice.
Just right click and save it to your computer

Tube of choice,
I used a tube by Bobbie Allen.
You can find many tubes at
bobbieandmarilynallen.com
They have so many wonderful tubes!
Just be sure to follow their TOU.
They are Resident Artists at Escape from Reality
It's the best forum in the world!
Go check it out!
You will find lots of tags, tagging supplies
and most importantly TRUE FRIENDS!
Tell them Kel sent you!
Choose your favorite fat font
I am using a free font called
Fat regular ttnorm Font
Add a mask or elements of your choice.
Make this tag your own!
Ready?
Open your animation in Animation shop. Select all, and then copy.
Open PSP and
paste animation as multiple images.
Open a new image 700x400 and make the background white.
Promote background layer.
Grab your text tool and choose your font.
Set you foreground to a color of choice
Mine is : #1788e2
The size of my font is 100 and my stroke is set on 4.
Play with the Kerning settings.
Mine is set on 50.
Type your name and click ok.
Position name toward the bottom of your canvas and in the center of the canvas.
Before converting to raster, go to Objects : Convert text to curves :as Character shape.


When happy, convert to raster layer.
Grab your magic wand and click inside each letter,
expand selection X2.
Click on background layer and add a new raster layer.
Grab your flood fill tool.
On your layer palette
Change foreground to pattern and find image 1.
Fill each letter with this pattern.


Now close the eye on this layer and create a new layer.
It might help to keep track if you change the name of the layer to correspond with
the image number for the layer fills.
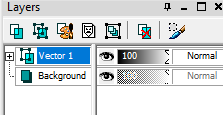
(See above screen shot)
So continue this until you have 12 layers of the pattern.
Select none.
Here is what my layers look like

Click on the top layer and add this inner bevel
and drop shadow.


Repeat the drop shadow again,
Changing the H & V to -2.
Now add the tube and copy wright.
And the elements of choice,
If you are using a mask, now is the time to add it.
Add the same drop shadow to each element.
If you need to resize the canvas, be sure to flood fill the background layer.
Crop the excess canvas.
When you are happy with your tag,
Copy merged. (you should still have 11 of the layers closed off.)
Then go to ani shop and paste as a new animation.
Now go back to PSP and close the eye on layer number 12,
and open layer 11. Copy merged and go back to ani shop and paste after current frame.
Repeat these steps until you have all 12 frames pasted into animation shop.
Now view animation and save.
Thanks for trying my tutorial!
I would love to see your results!
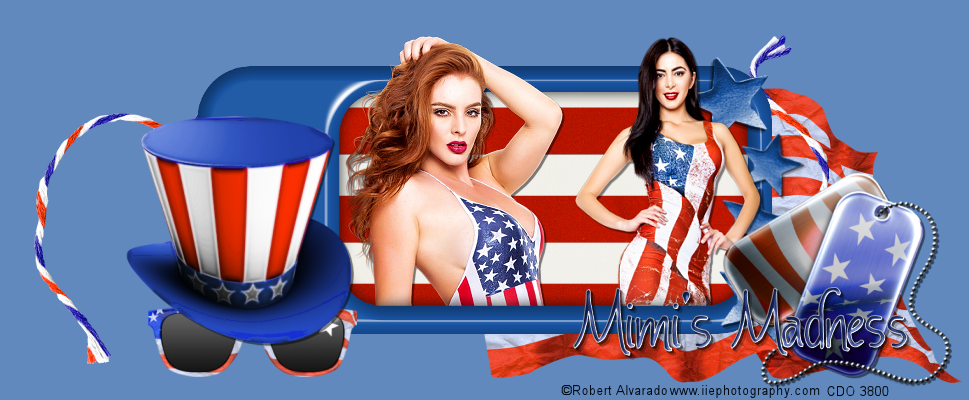
Here are some wonderful results from the tut!
Made by members of Escape From Reality
You can find this wonderful forum here:
Escape from Reality


This tutorial was written on 12-3-21, By Kelli.
Please don't copy it or claim it as your own or post it through any group.
You may link back to my blog.
Any resemblance to any other tutorial is strictly coincidental.
It is written assuming you have a basic knowledge of PSP and its tools.
It is written using PSP 9 but should work in any other version.
For this tutorial you you will need
These tubes by Keith Garvey.
Tube #'s 210-1 and 350-1
You can get them here
You will need the scrap kit by
Tiny Turtle Designs
Called Jolly Winter
Choose your favorite font. The font I used is
Winter White size 48
You will need a mask of choice.
The one I used I am not able to share.
But there are some wonderful masks,
that were created by Kathyfrances.
You can find them here, at the Escape from Reality blog
Ready?
Open a new image ~ 600 X 600 transparent.
Copy and paste element #87 (the Santa chair)
as a new layer. Resize it by 75%.
Position it slightly to the right side of your canvas.
Add a drop shadow of choice. This is the one I used.
I repeated this shadow once.
Paste your Santa tube and resize it by 85%.
Add the same drop shadow once.
Open element #110( the Christmas tree).
Drag it behind the chair and resize it by 90%.
Position it behind Santa and a little to the side of him.
Open element # 63 (the Fireplace). Paste it behind the tree and resize it by 85%.
Add the same drop shadow and position it.
Open some of the gifts, I used #105, 77, and 104.
Resize them to an appropriate size, and position them as you like.
Dont forget to use the drop shadow on each element.
Paste the Centerpiece (element #81) as a new layer above the fireplace.
Resize it by 45%. Add the same drop shadow.
Position it on the mantle to one side, Duplicate it and mirror it.
Position to the other side of the mantle.
Open element # 34
Paste it as a new layer behind the centerpiece.
Resize it by 25% Add the drop shadow.
Position on the mantle as desired.
Open Element #22 as a new layer
and resize it by 24%. add the drop shadow.
And position it as desired.
Open element # 22, resize it b 25%
Add the same drop shadow and position.
Open the second tube,
The New years tube.
Paste as a new layer behind the Santa chair.
Resize it by 55%
Add the same drop shadow and position it as desired.
Add a new layer and drag it to the bottom.
Select all and paste a paper of choice into the selection.
I used paper # 5. Select none.
Go Layers, new mask layer, from image and select your chosen mask.
Merge group. Duplicate the group layer.
Merge these two layers together.
Open element # 80 just above the mask layer.
Resize it by 40%
Sharpen and add drop shadow.
Duplicate it x 2. Position the three layers in a line.
Add your copy wright and scrap kit info.
Grab your text tool
Here are my settings: